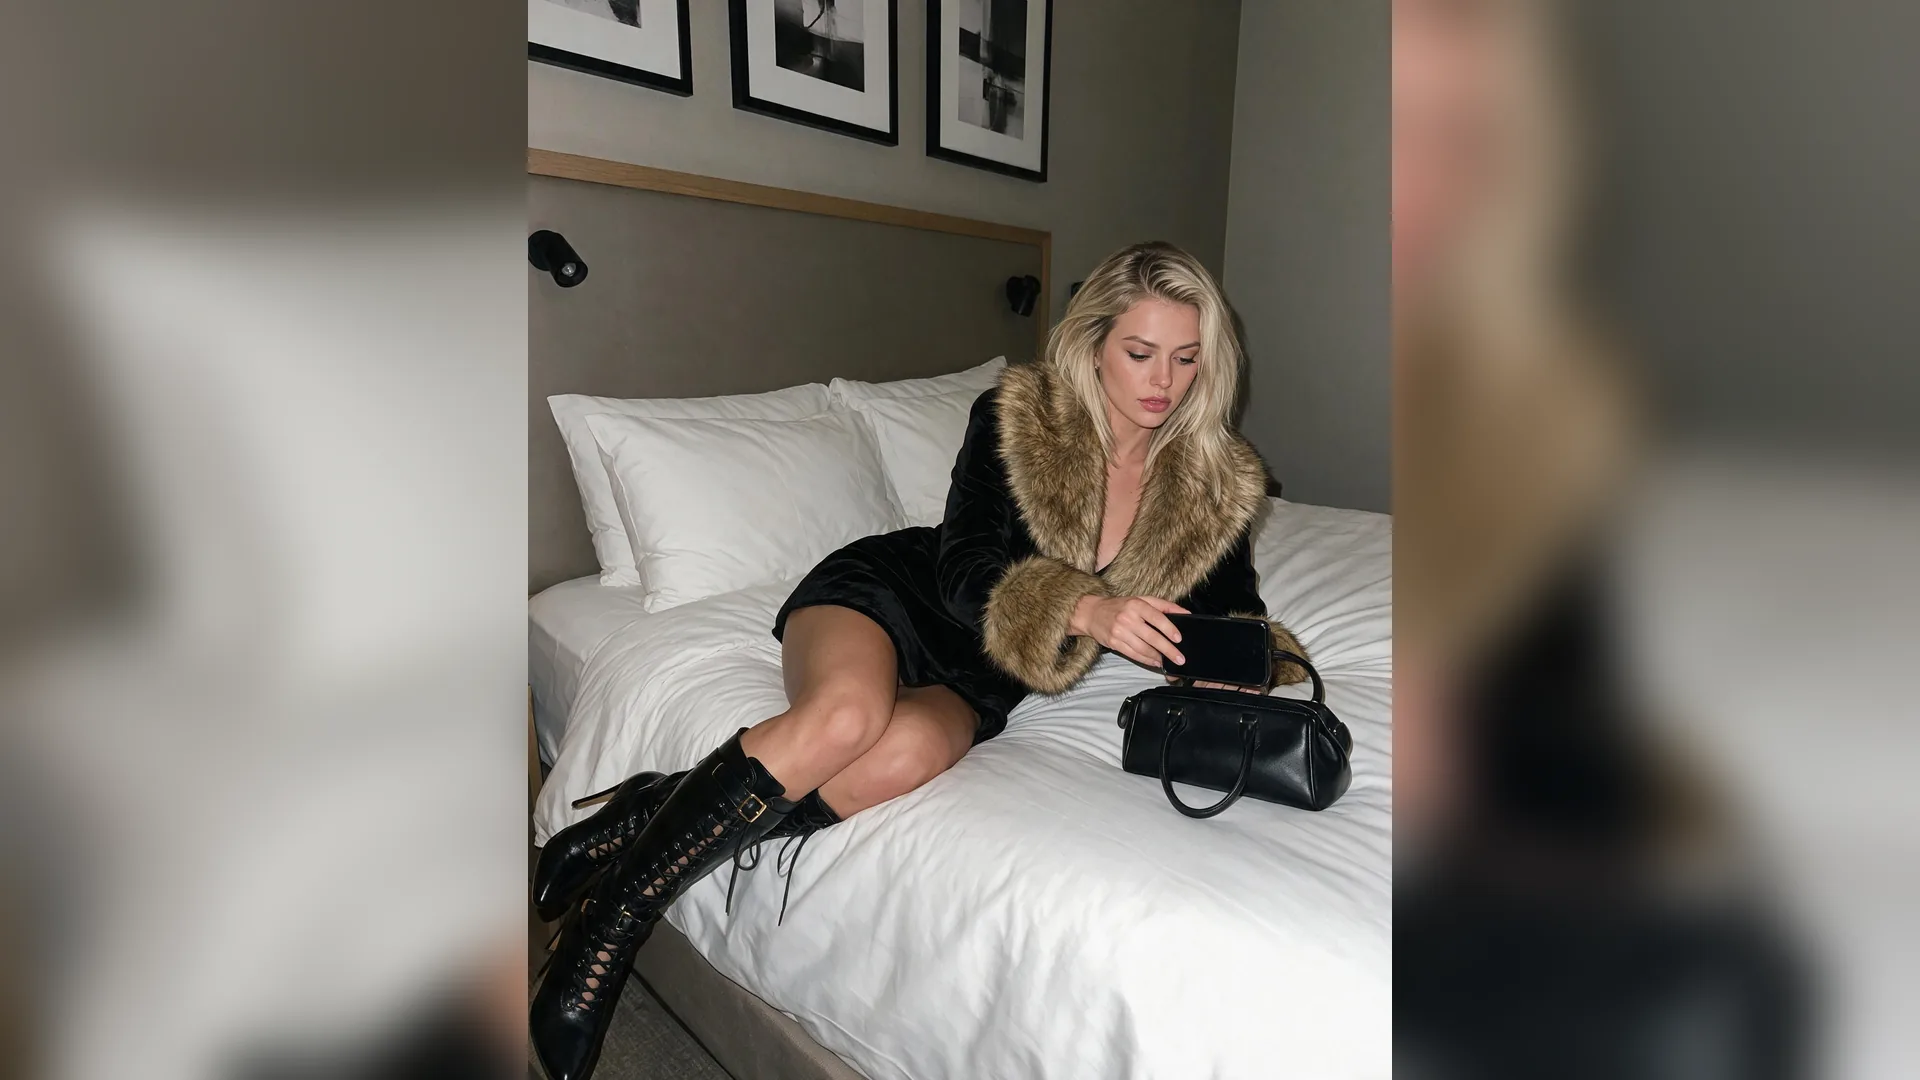
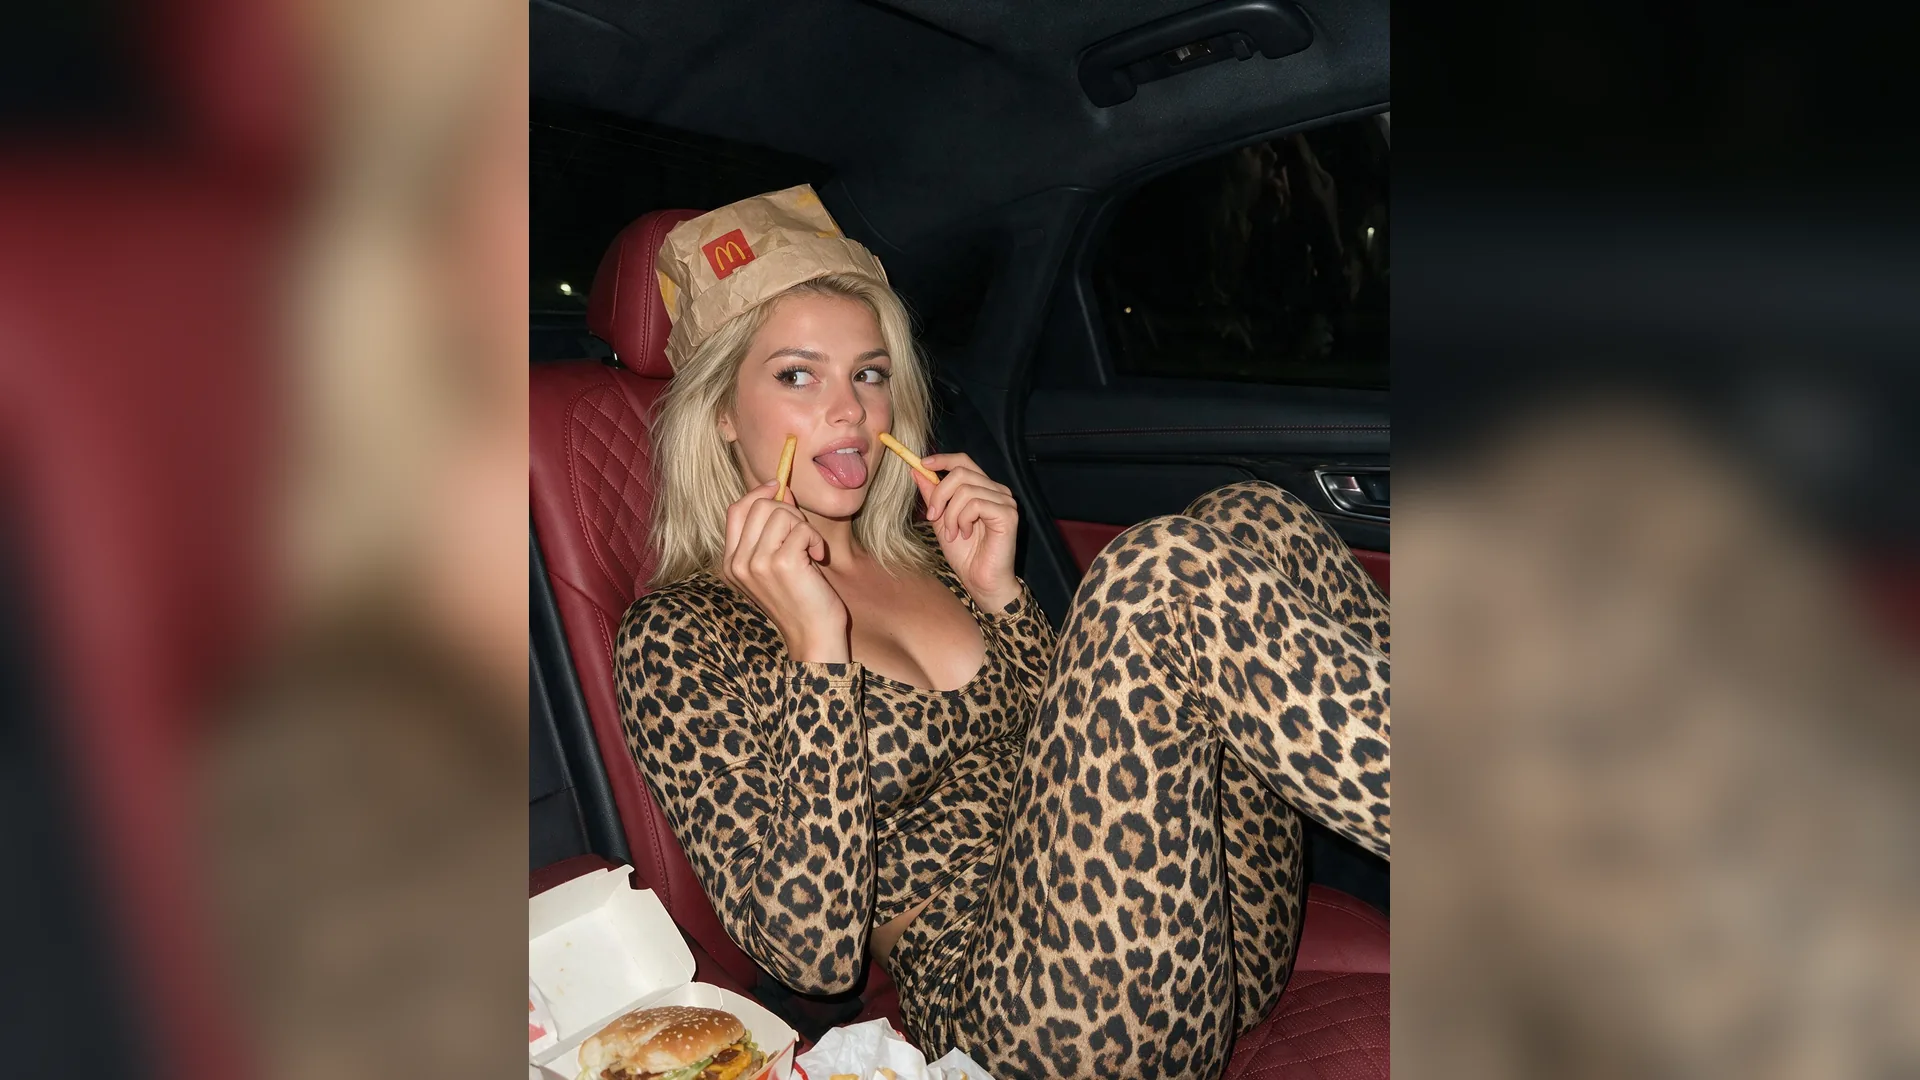
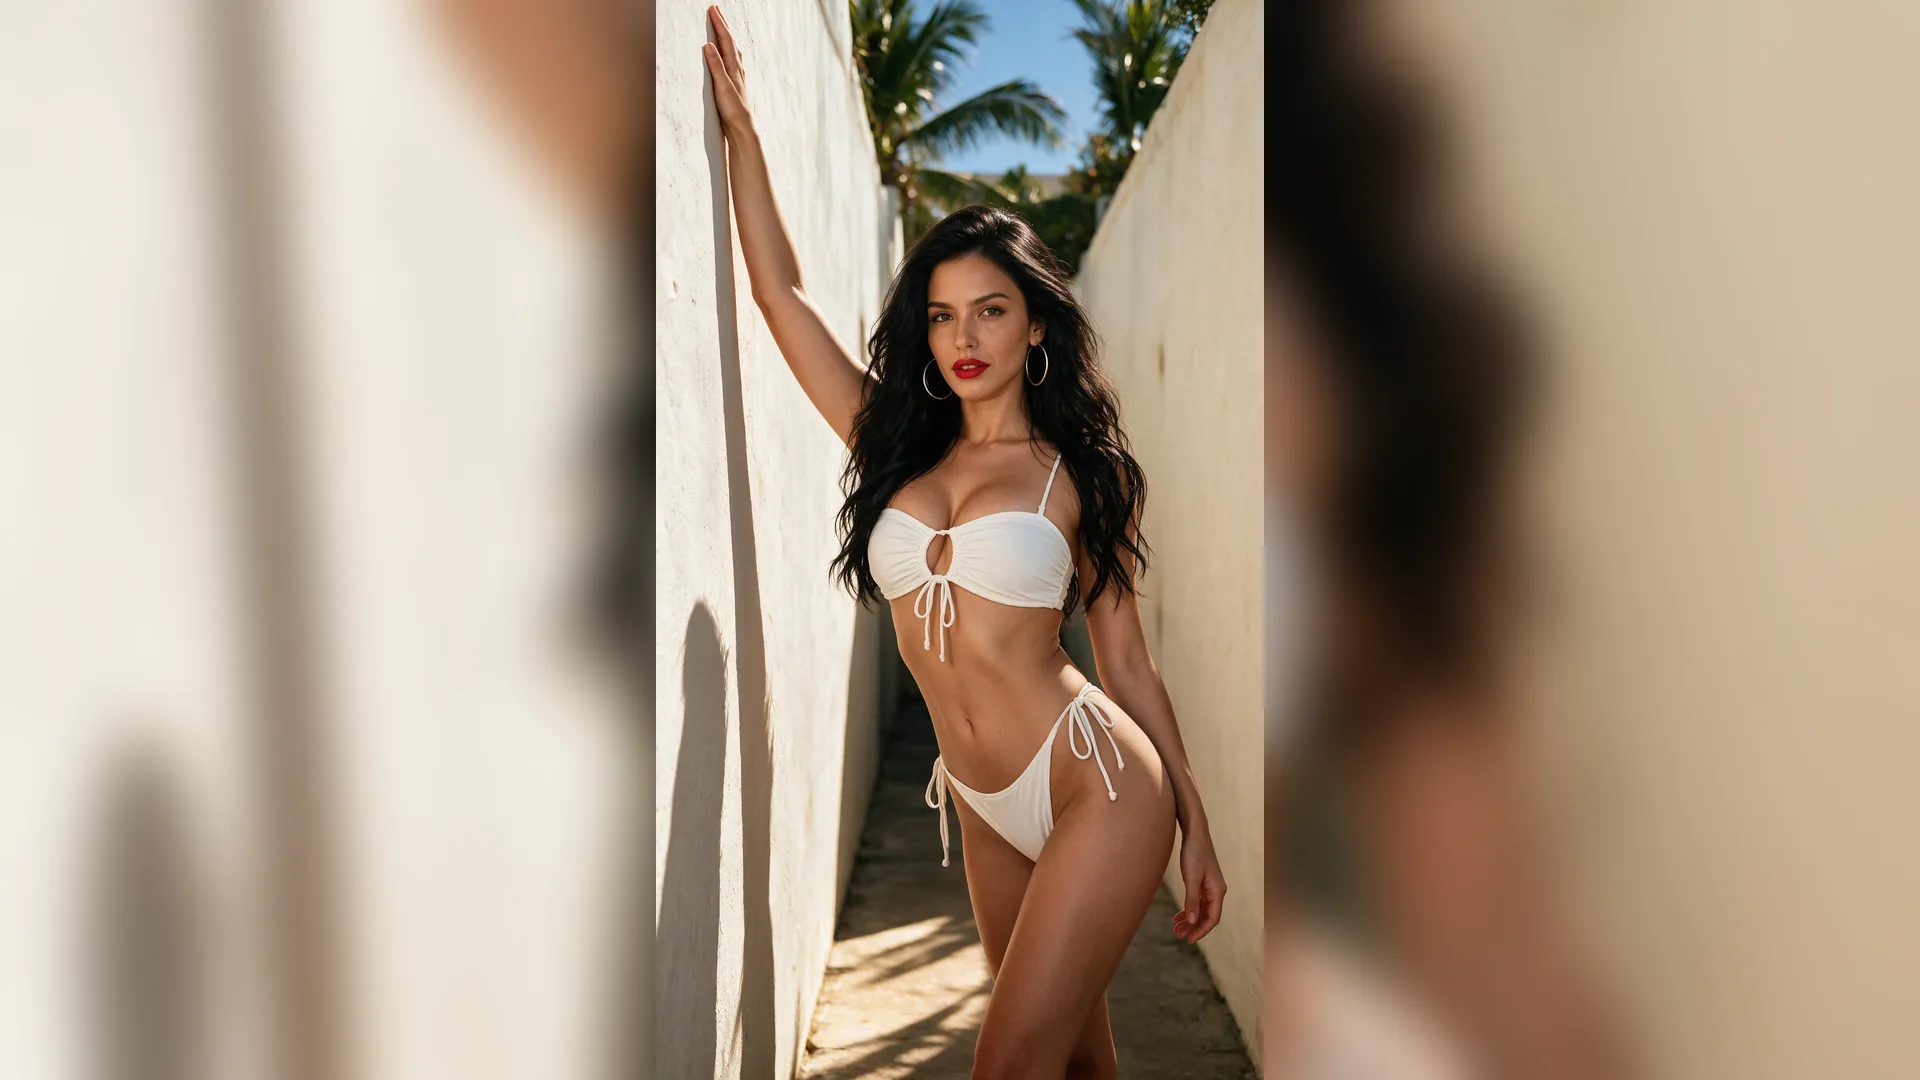
Start from available sources
SetupList what you can actually use and where it sits. Do not rely on a draft that invents extra equipment.
Plan photography illumination from the subject, location and lights or windows available. Ask Viralkey for a text starting setup and checks for shadows, reflections and background separation. Apply and test the plan yourself with the actual equipment. Related pages Moodboard template for a clear visual direction · What is cinematic framing? Plan what belongs in the shot · Shot list template for a shootable scene plan
Photography illumination is the light that makes the subject visible and shapes its appearance in a photograph. Direction changes where shadows fall; the source’s apparent size and distance affect how those shadows transition. For a small product near a window, first observe which side receives light and where reflections appear. For a portrait, consider both the face and the background. Viralkey can help organize these observations into a setup plan. The draft does not control lights or determine the correct exposure for a location it has not measured. Open Agent · Moodboard template for a clear visual direction · What is cinematic framing? Plan what belongs in the shot · Shot list template for a shootable scene plan
Plan photography illumination from the subject, location and lights or windows available. Ask Viralkey for a text starting setup and checks for shadows, reflections and background separation. Apply and test the plan yourself with the actual equipment.
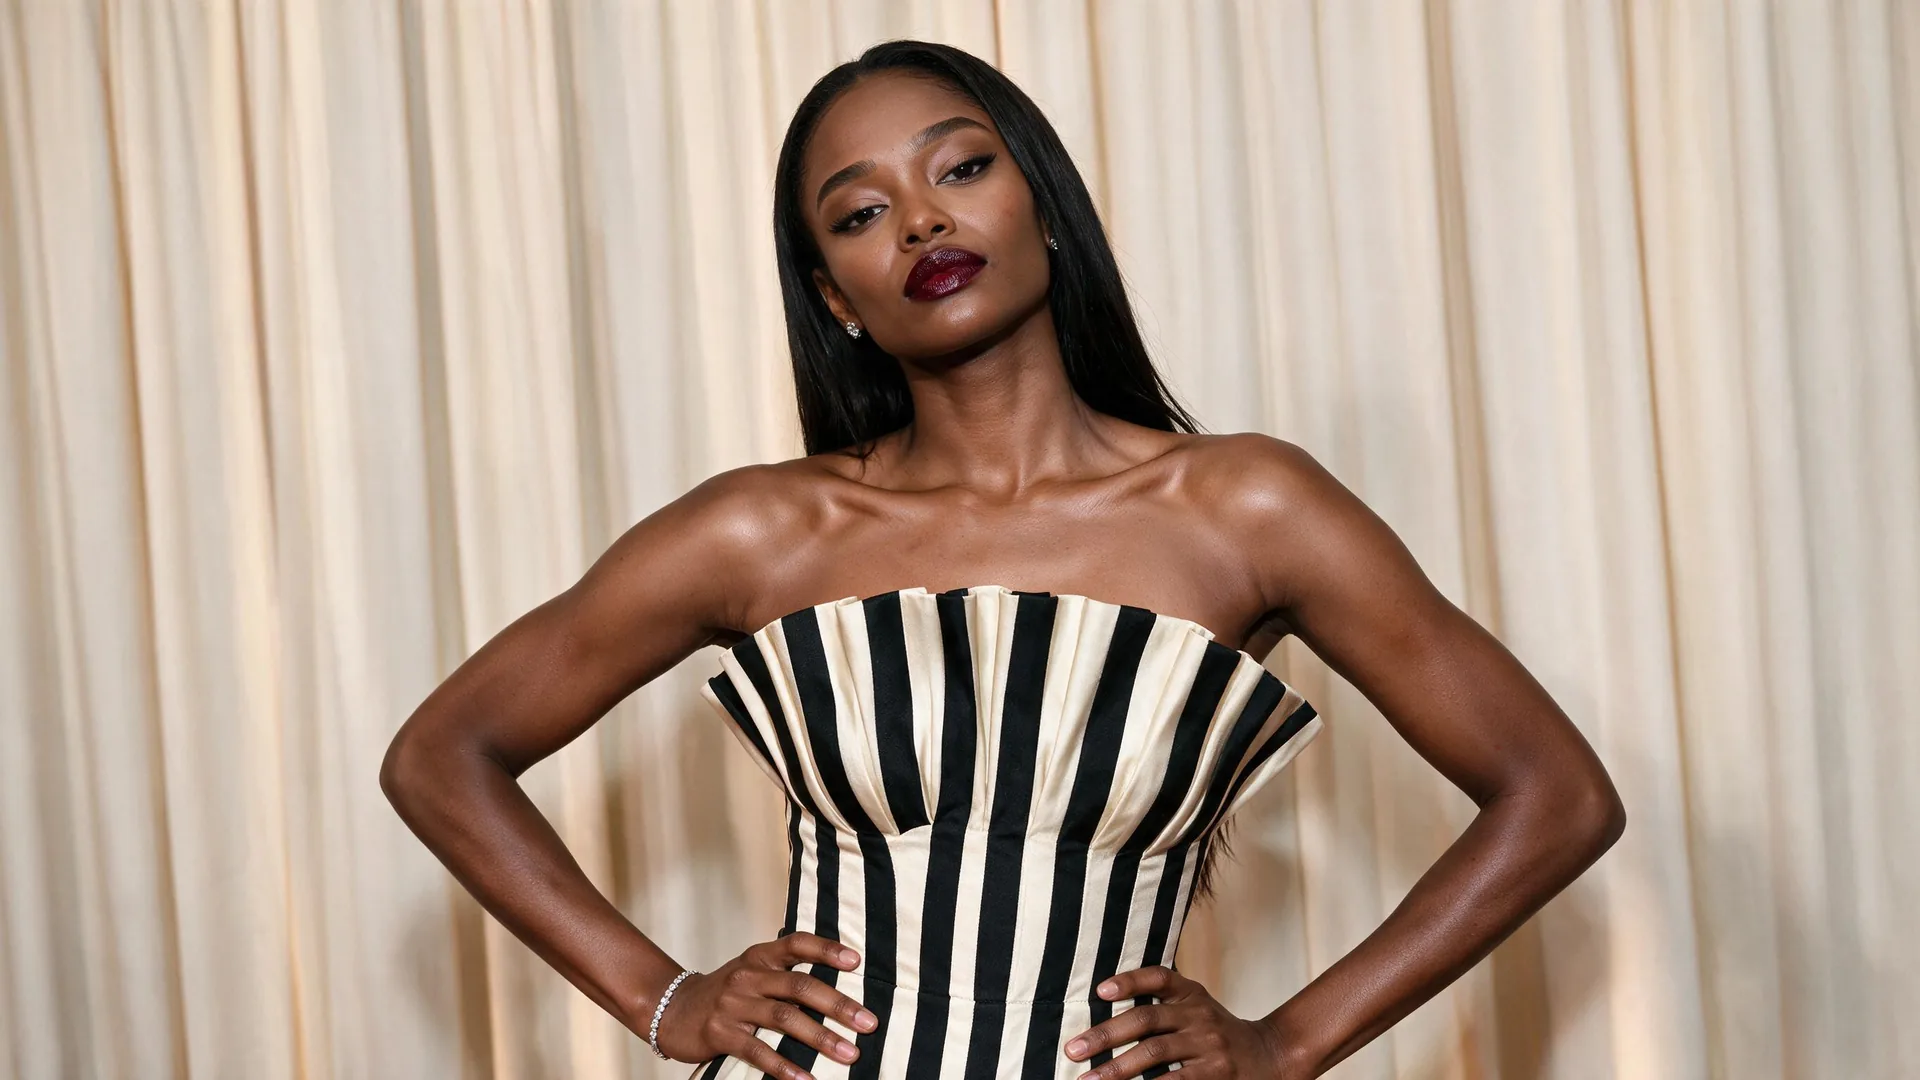
List the windows, lamps, flash equipment or other sources you can actually use. Include where they sit relative to the subject and any fixed room constraint. The Agent can propose a starting arrangement from those facts. Avoid a plan that assumes equipment you do not have, and verify that each physical setup is safe and permitted in the location.
Continue with a draft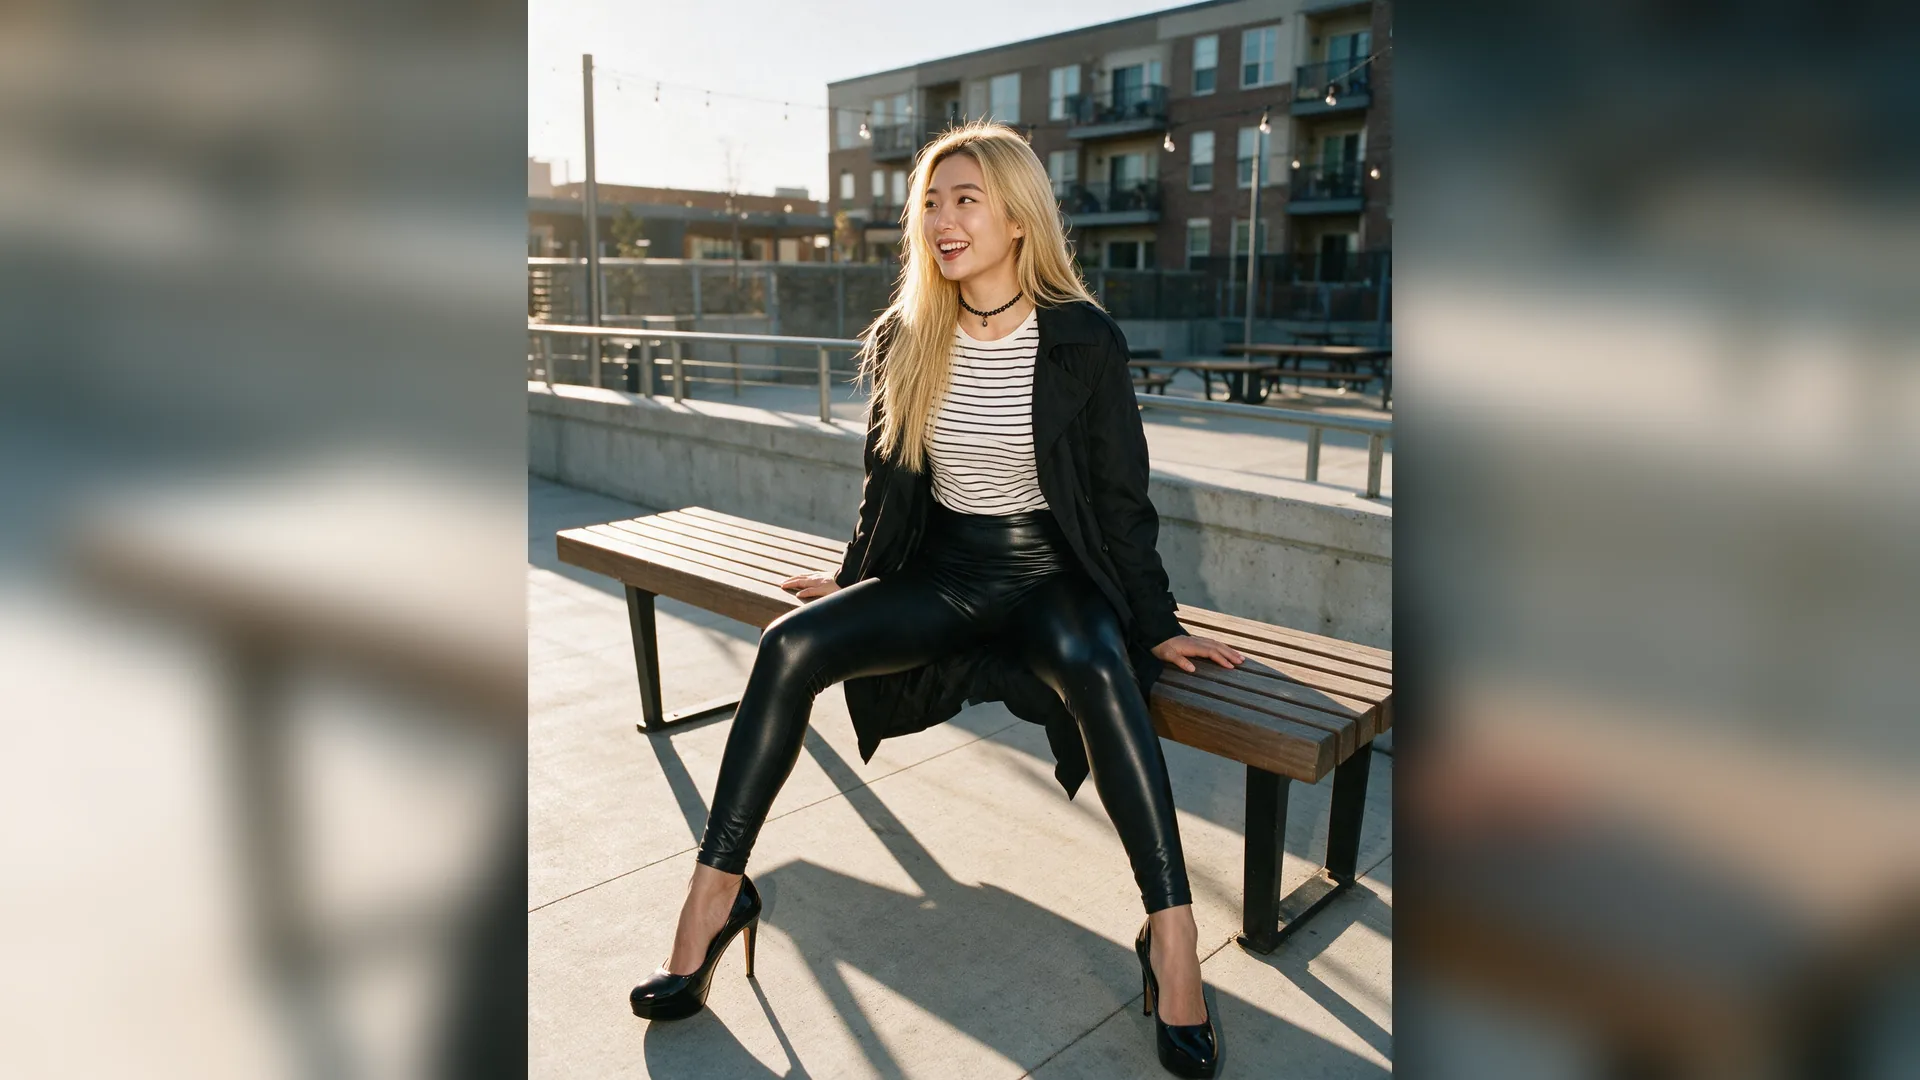
Ask how front, side or back light might change the subject’s visible shape. Describe whether you want gentle transitions or a more distinct shadow. Try the suggested positions and inspect the real photograph. The text explanation can guide an experiment, but it cannot establish how a specific surface, face or source behaves without an actual test.
Continue with a draft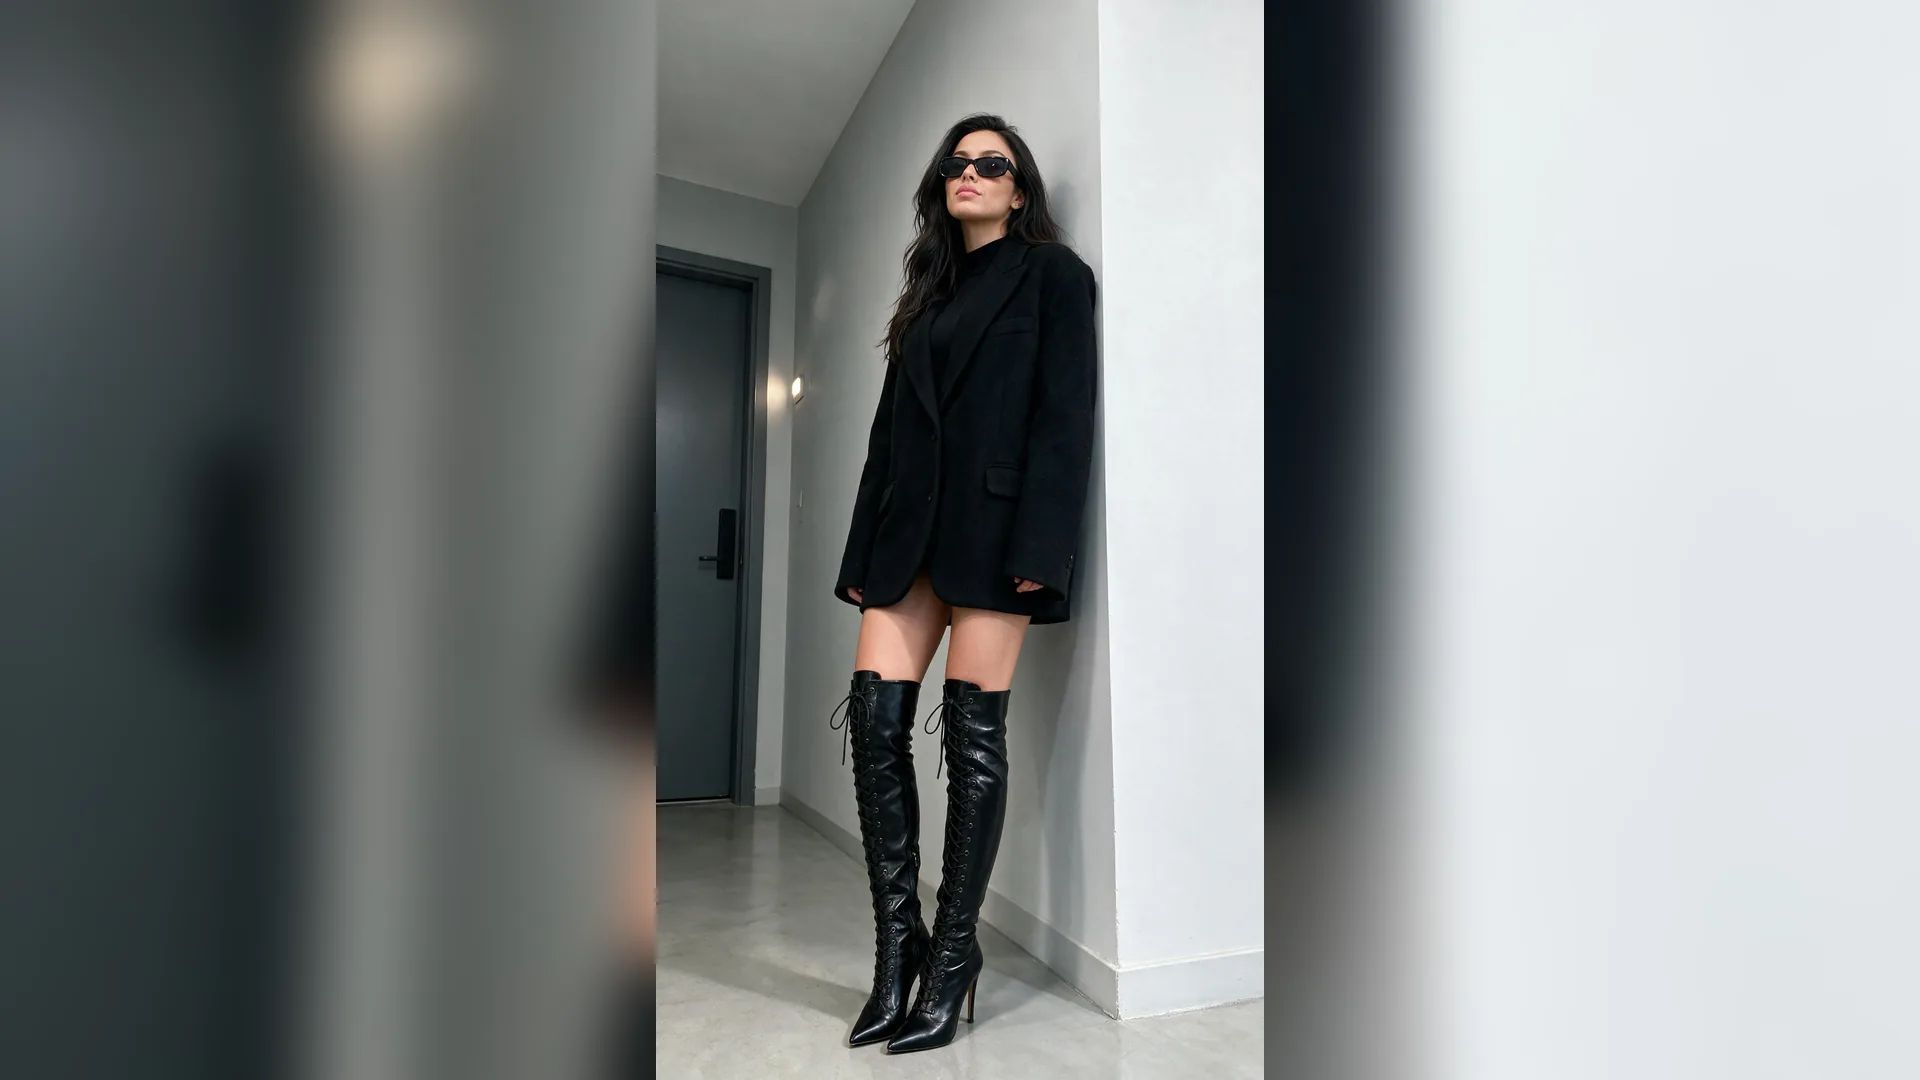
Glossy objects and reflective surfaces may show the light source or surroundings. A background can also become brighter than the subject or merge with it. Ask for a checklist of reflections, edge separation and unwanted highlights. Apply that list to the actual frame rather than assuming that a proposed setup has solved every lighting issue.
Continue with a draftSupply the material or surface, the background, the camera viewpoint and the available light sources. Include what you want to preserve in the image and any practical limit. If you know the problem, such as a reflection or dark background, name it directly.
Ask for the position of the main source, a possible reflector or fill approach and the points to inspect. Keep equipment-specific instructions within what you can verify. Review the plan before moving lights, stands or electrical equipment.
Inspect shadows, highlights, reflections and subject-background separation in actual images. Adjust one variable at a time so you can understand the effect. Choose exposure and equipment settings from the real scene; a text draft cannot measure or guarantee them.
For a paper package or a ceramic item with a matte surface, side light can help show shape and texture. Observe whether the shadow still lets the viewer understand the product. A reflector or changed source position may alter contrast. Test those changes with the actual object, and preserve its real color and material instead of making claims from an imagined setup.
Continue with a draftA polished surface may reveal the source, camera or room. Examine the angle and shape of those reflections in a test photograph. Changing the source position, its apparent size or the subject’s angle can change what is visible. Keep any diffusion or flagging setup appropriate for the equipment, and do not put unsafe material near hot sources.
Continue with a draftDiscuss the intended appearance and the subject’s comfort before testing a light position. Check the eyes, facial shadows and separation from the background. Allow for changes in pose, clothing and skin appearance rather than assuming one setup suits every person. Record the accepted arrangement so the team can repeat it and compare later photographs consistently.
Continue with a draftUse these notes when planning and reviewing test photographs.
Start from available sources
SetupList what you can actually use and where it sits. Do not rely on a draft that invents extra equipment.
Inspect shadow transitions
ShapeCompare how the chosen direction and source size describe the subject’s form in the test image.
Watch bright and reflective areas
SurfaceCheck highlights and reflected objects before deciding that the product or portrait is ready to photograph.
Separate subject and background
CompositionReview whether the subject remains readable against the background, including its edges and important details.
Change one variable at a time
TestingAdjust position, fill or another factor separately so you can see which change produced the observed result.
Keep equipment use safe
ProductionUse suitable supports and materials, follow equipment guidance and confirm the setup with the responsible person.
It is the light present in or added to the scene for a photograph. Its direction, intensity, color and shadow quality influence how the subject appears. Observe the actual scene before choosing a lighting arrangement.
Your text opens in Agent as a draft. Review it there before sending; this page does not start generation.